How to Complete Assessments from GitHub Classroom
Accepting the Assignment
You’ll receive an invitation to an assignment from GitHub classroom. After clicking on the link to accept the assignment, you’ll see a page that look like this:
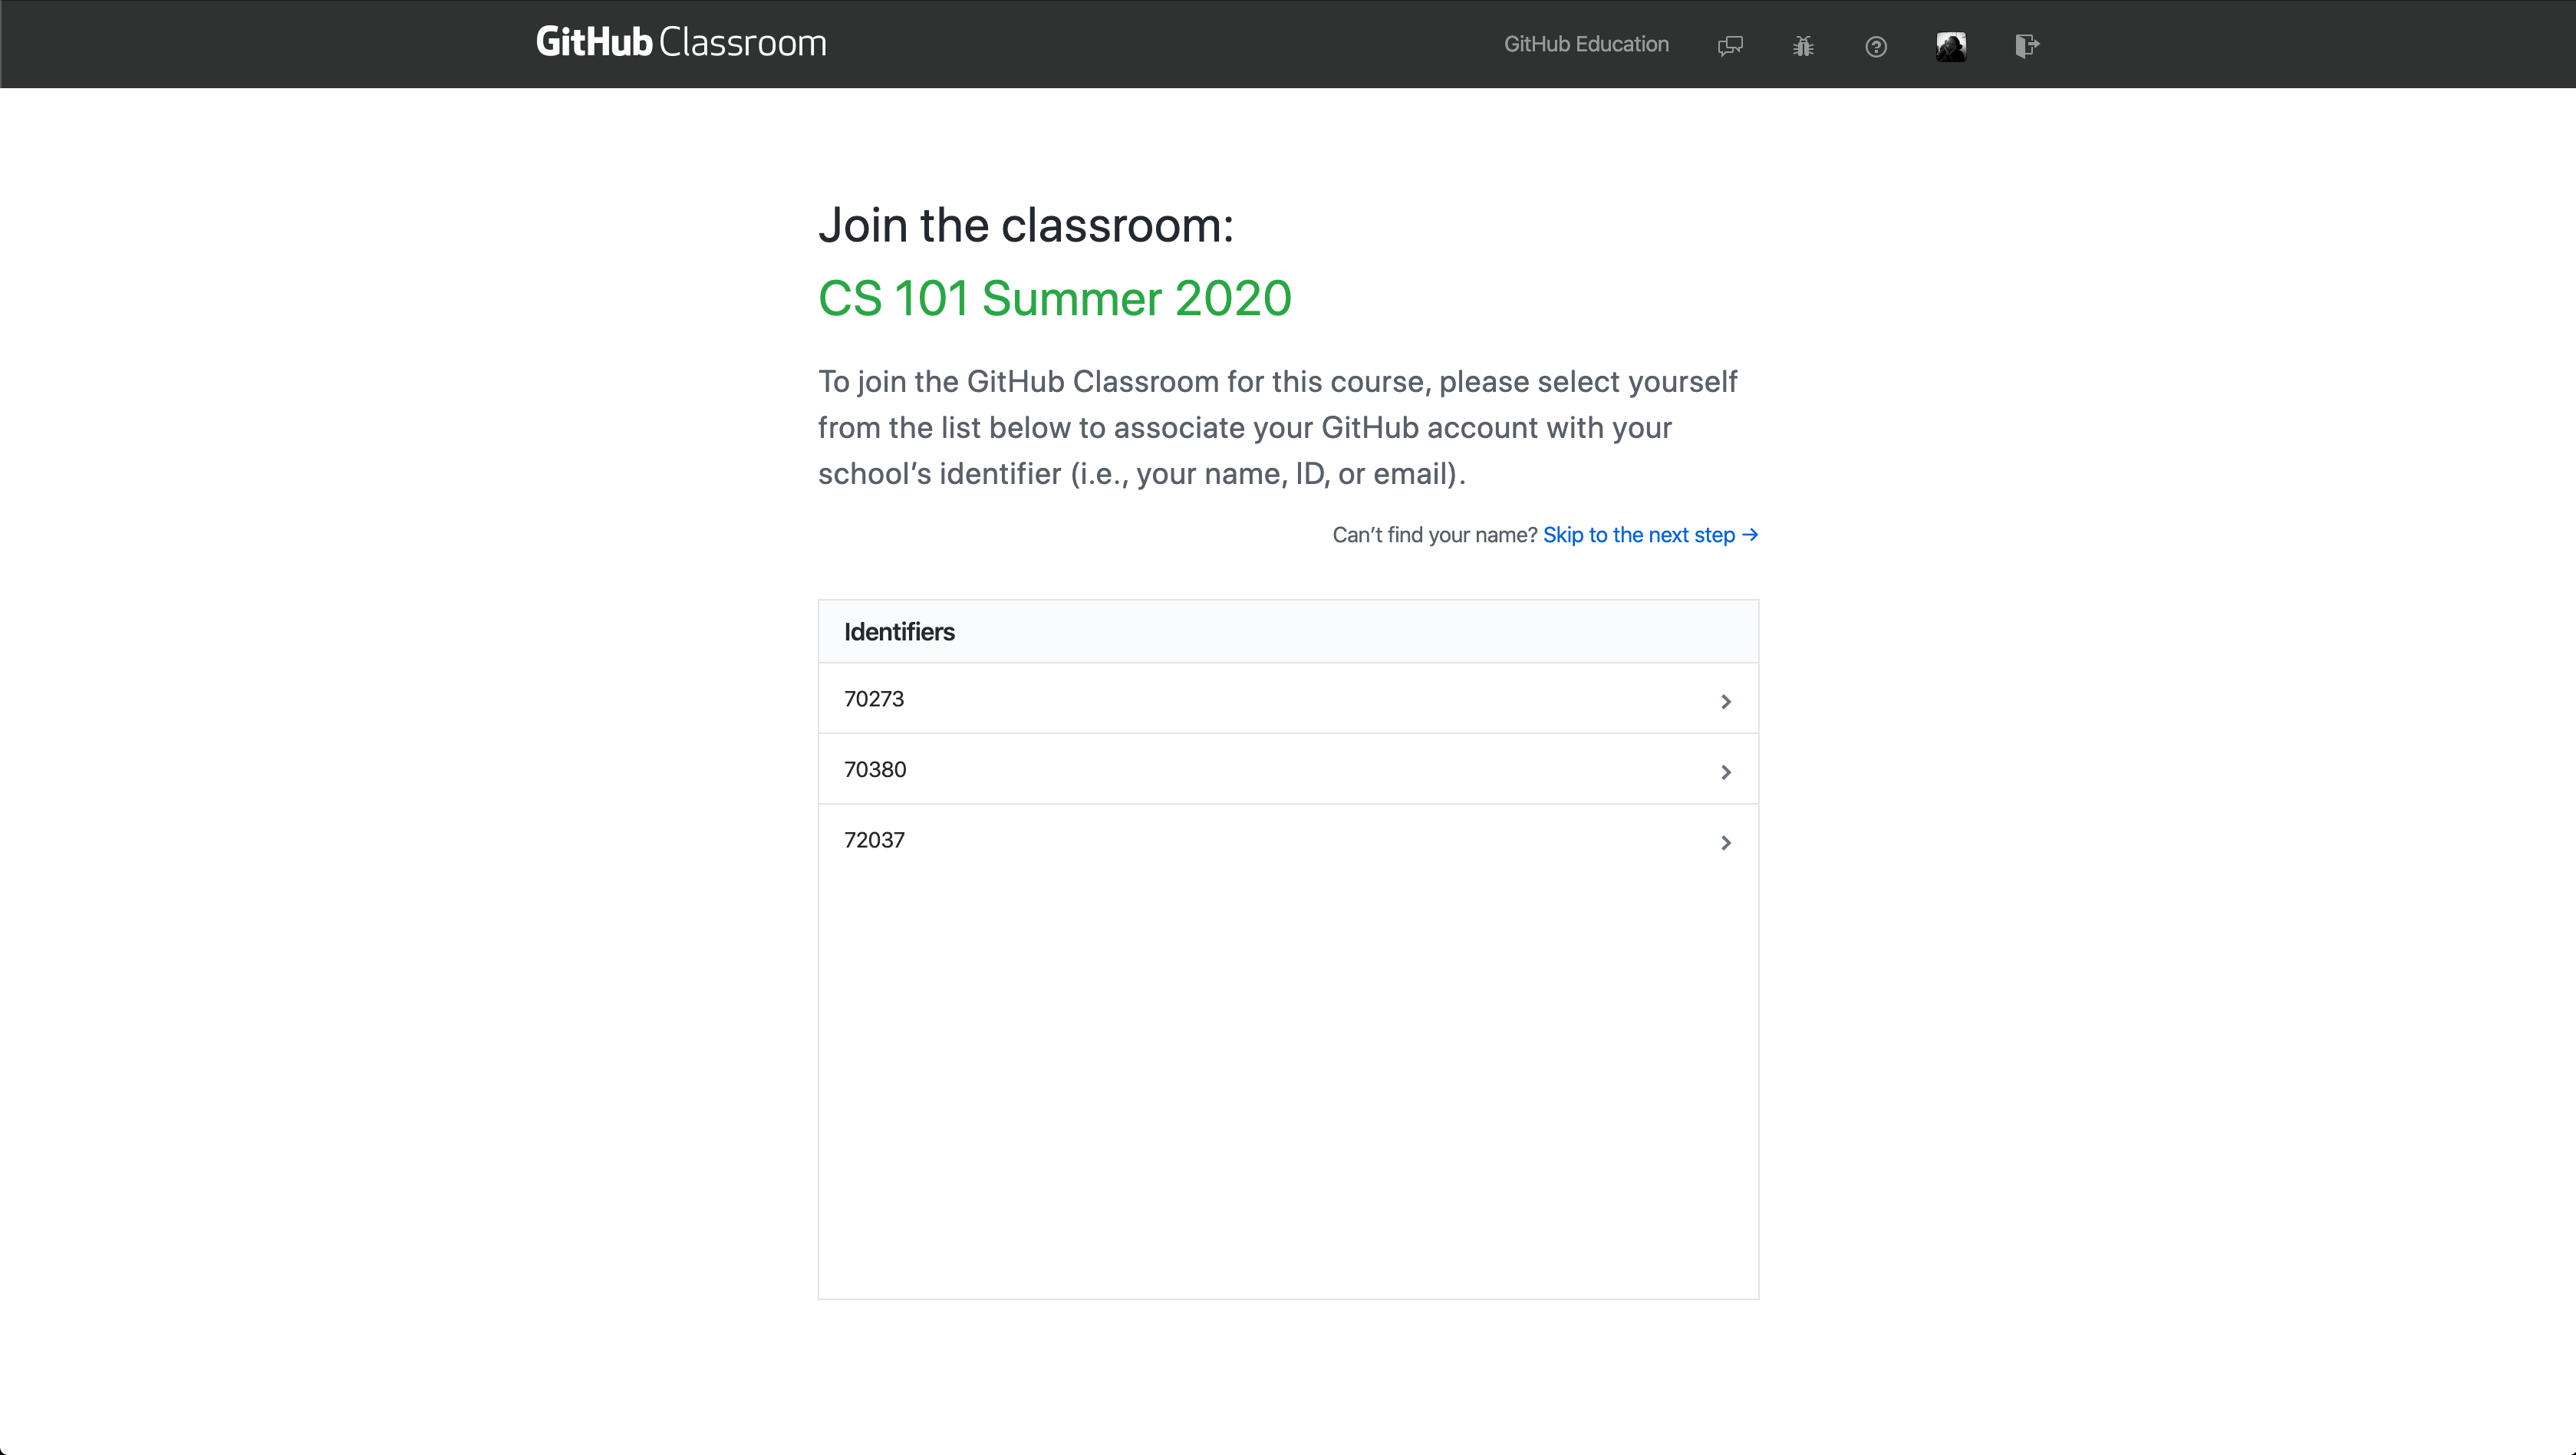
Click on your name to move on to the next step. This is how GitHub Classroom connects your name to your GitHub username.
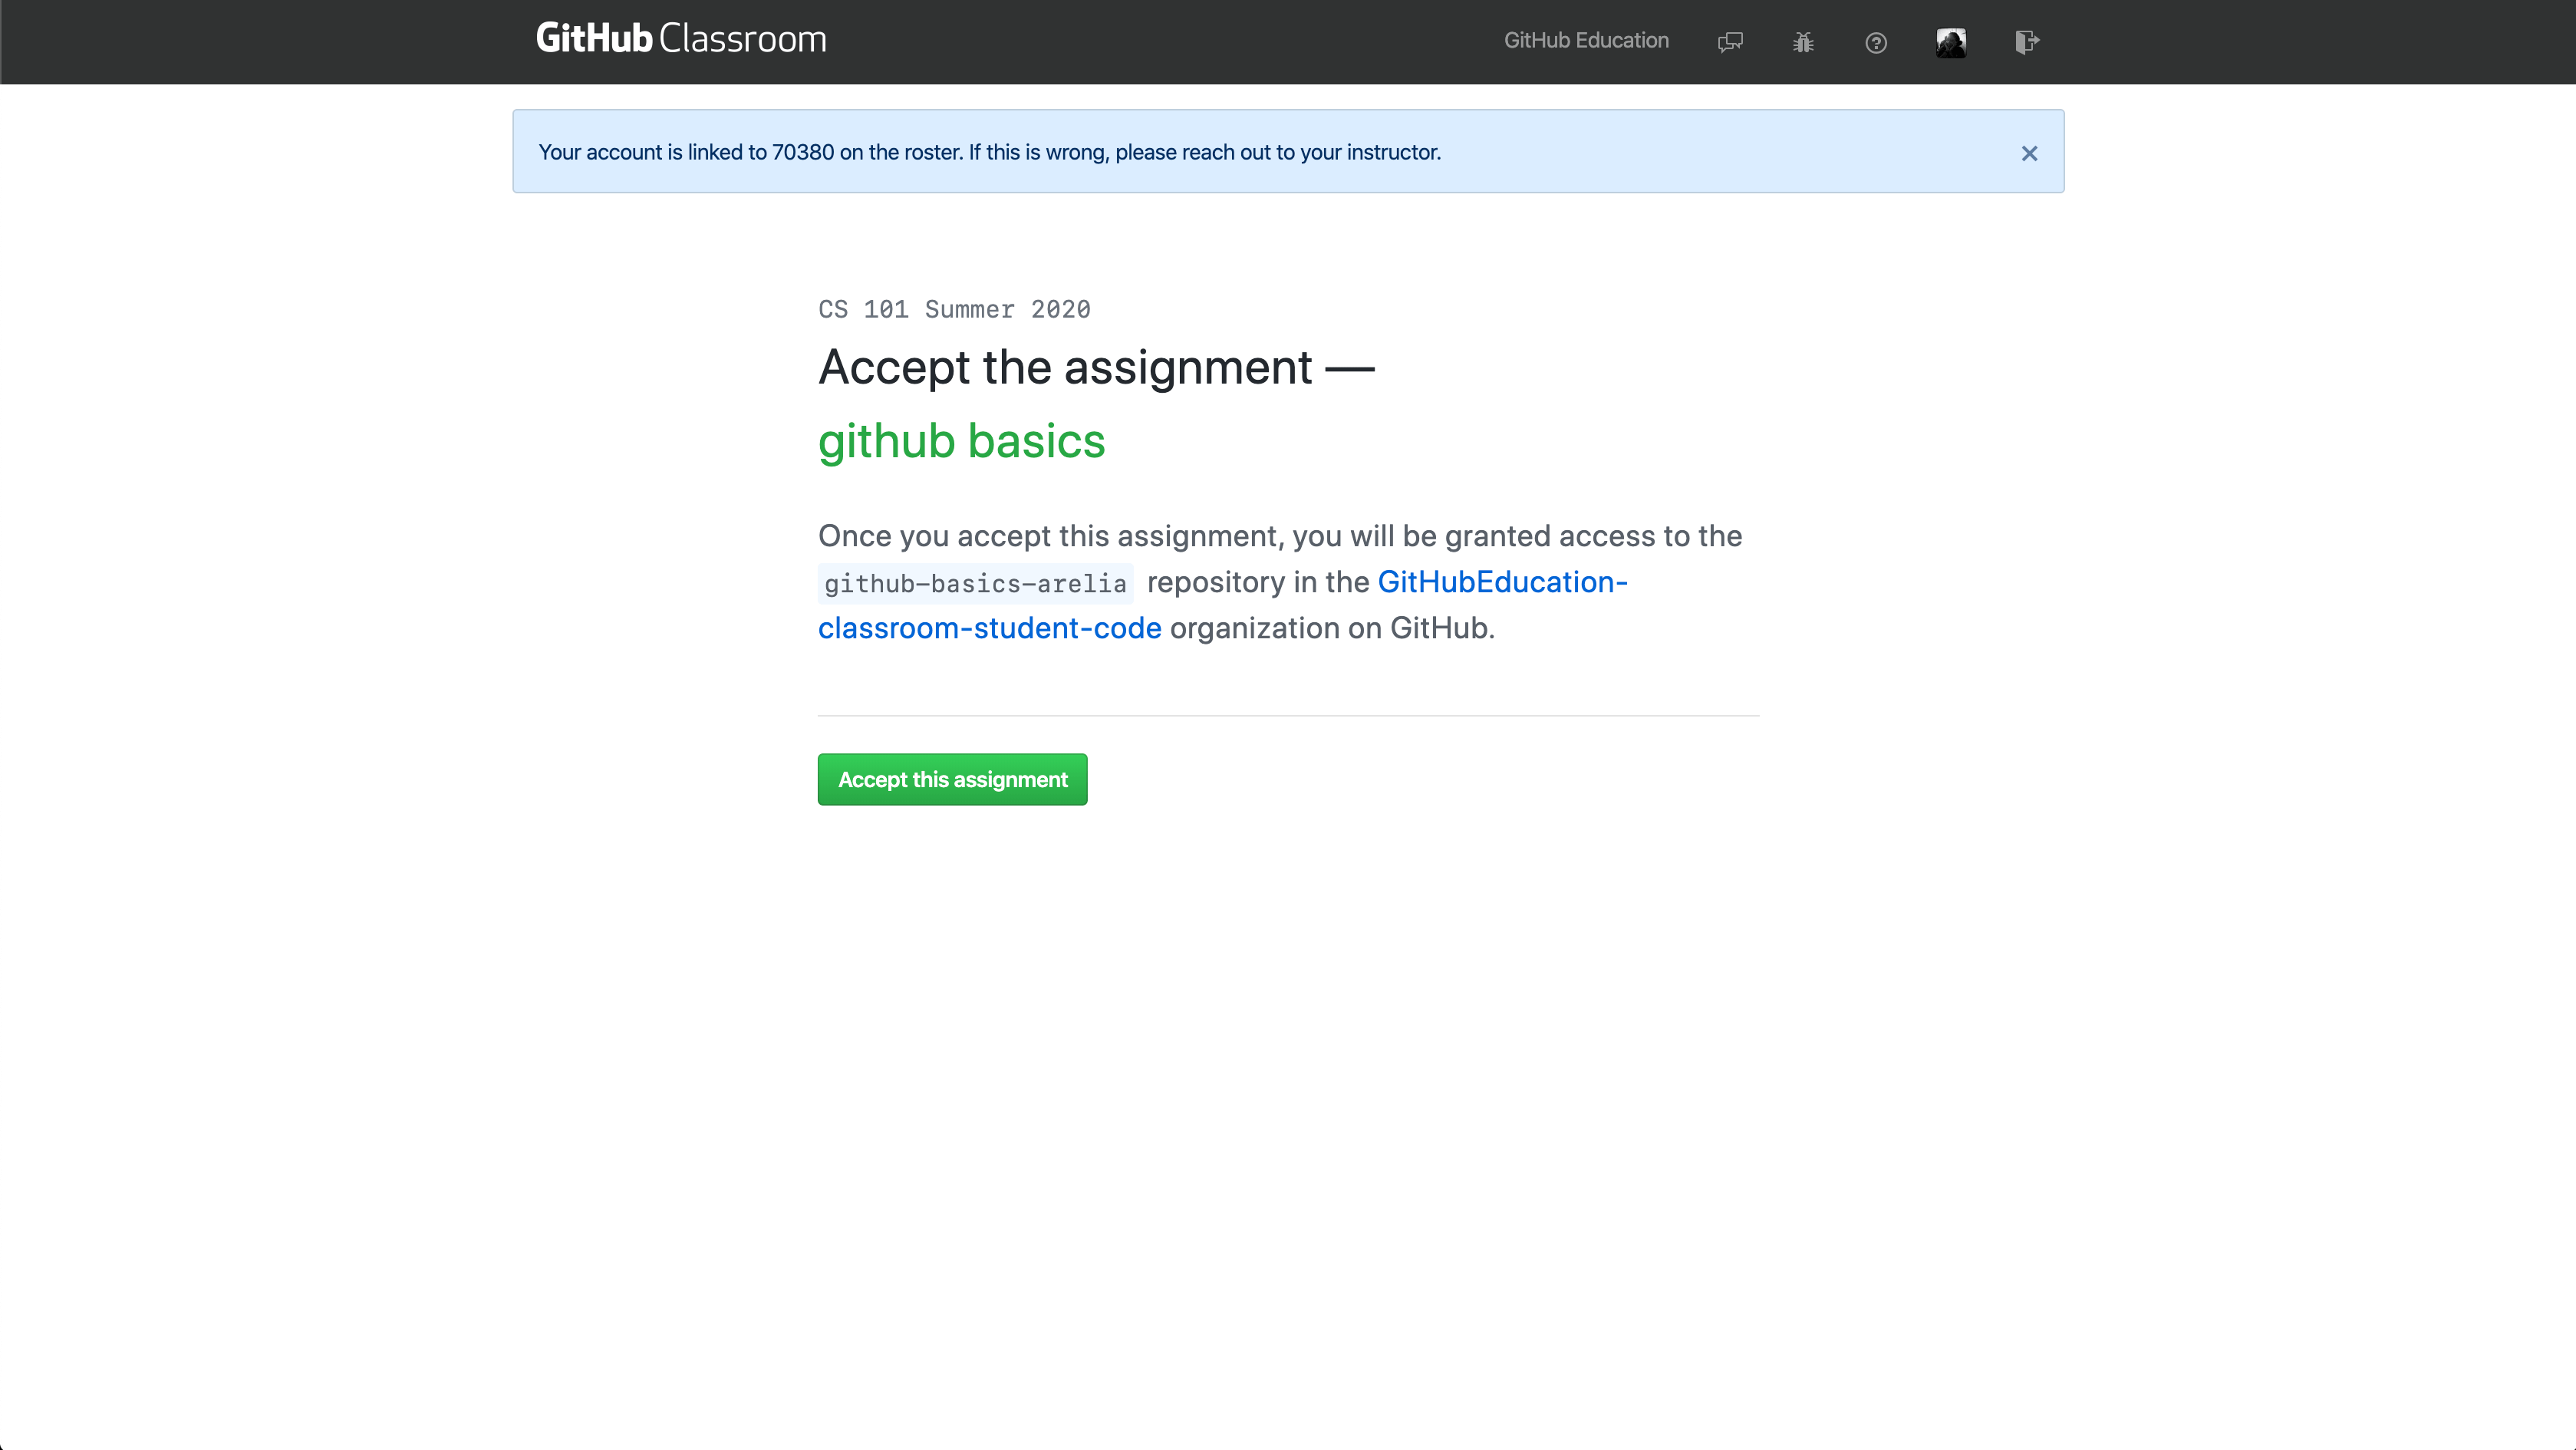
On the next page, click Accept the assignment:
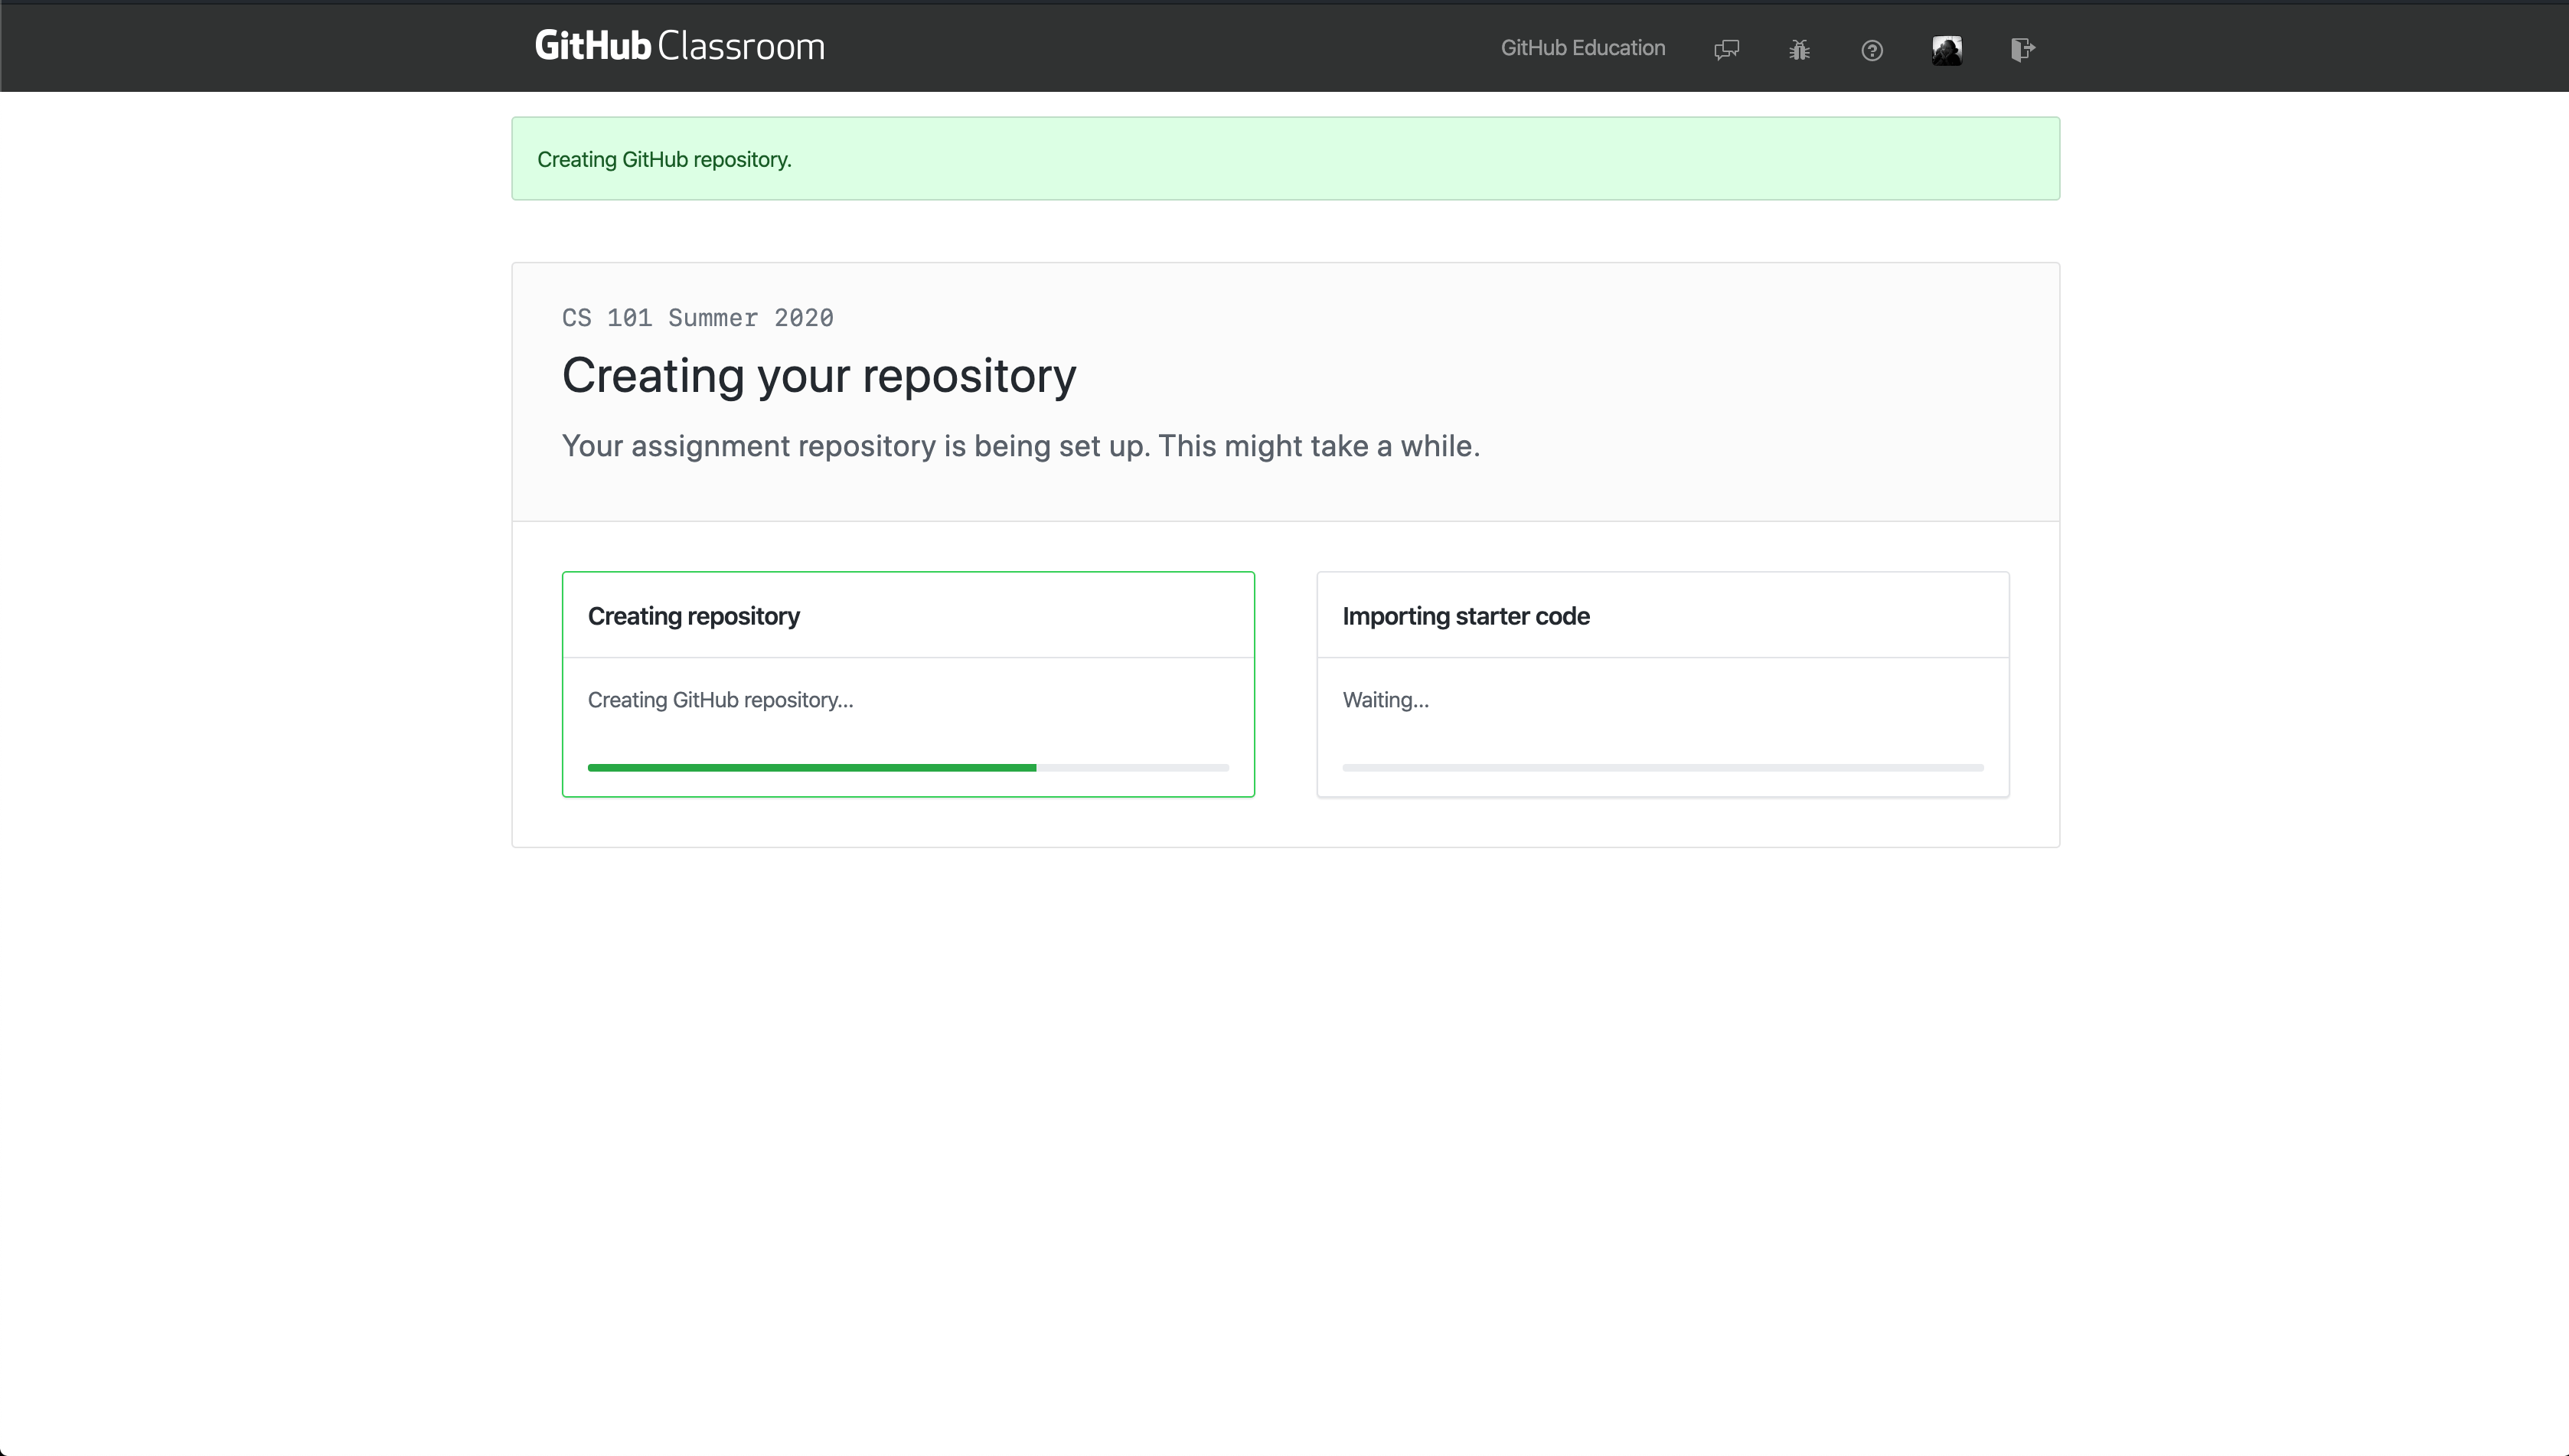
On the next screen, GitHub will begin generating a repository for your assessment.
When GitHub finishes setting up your repo, you’ll get a link to your newly-created assessment repository.
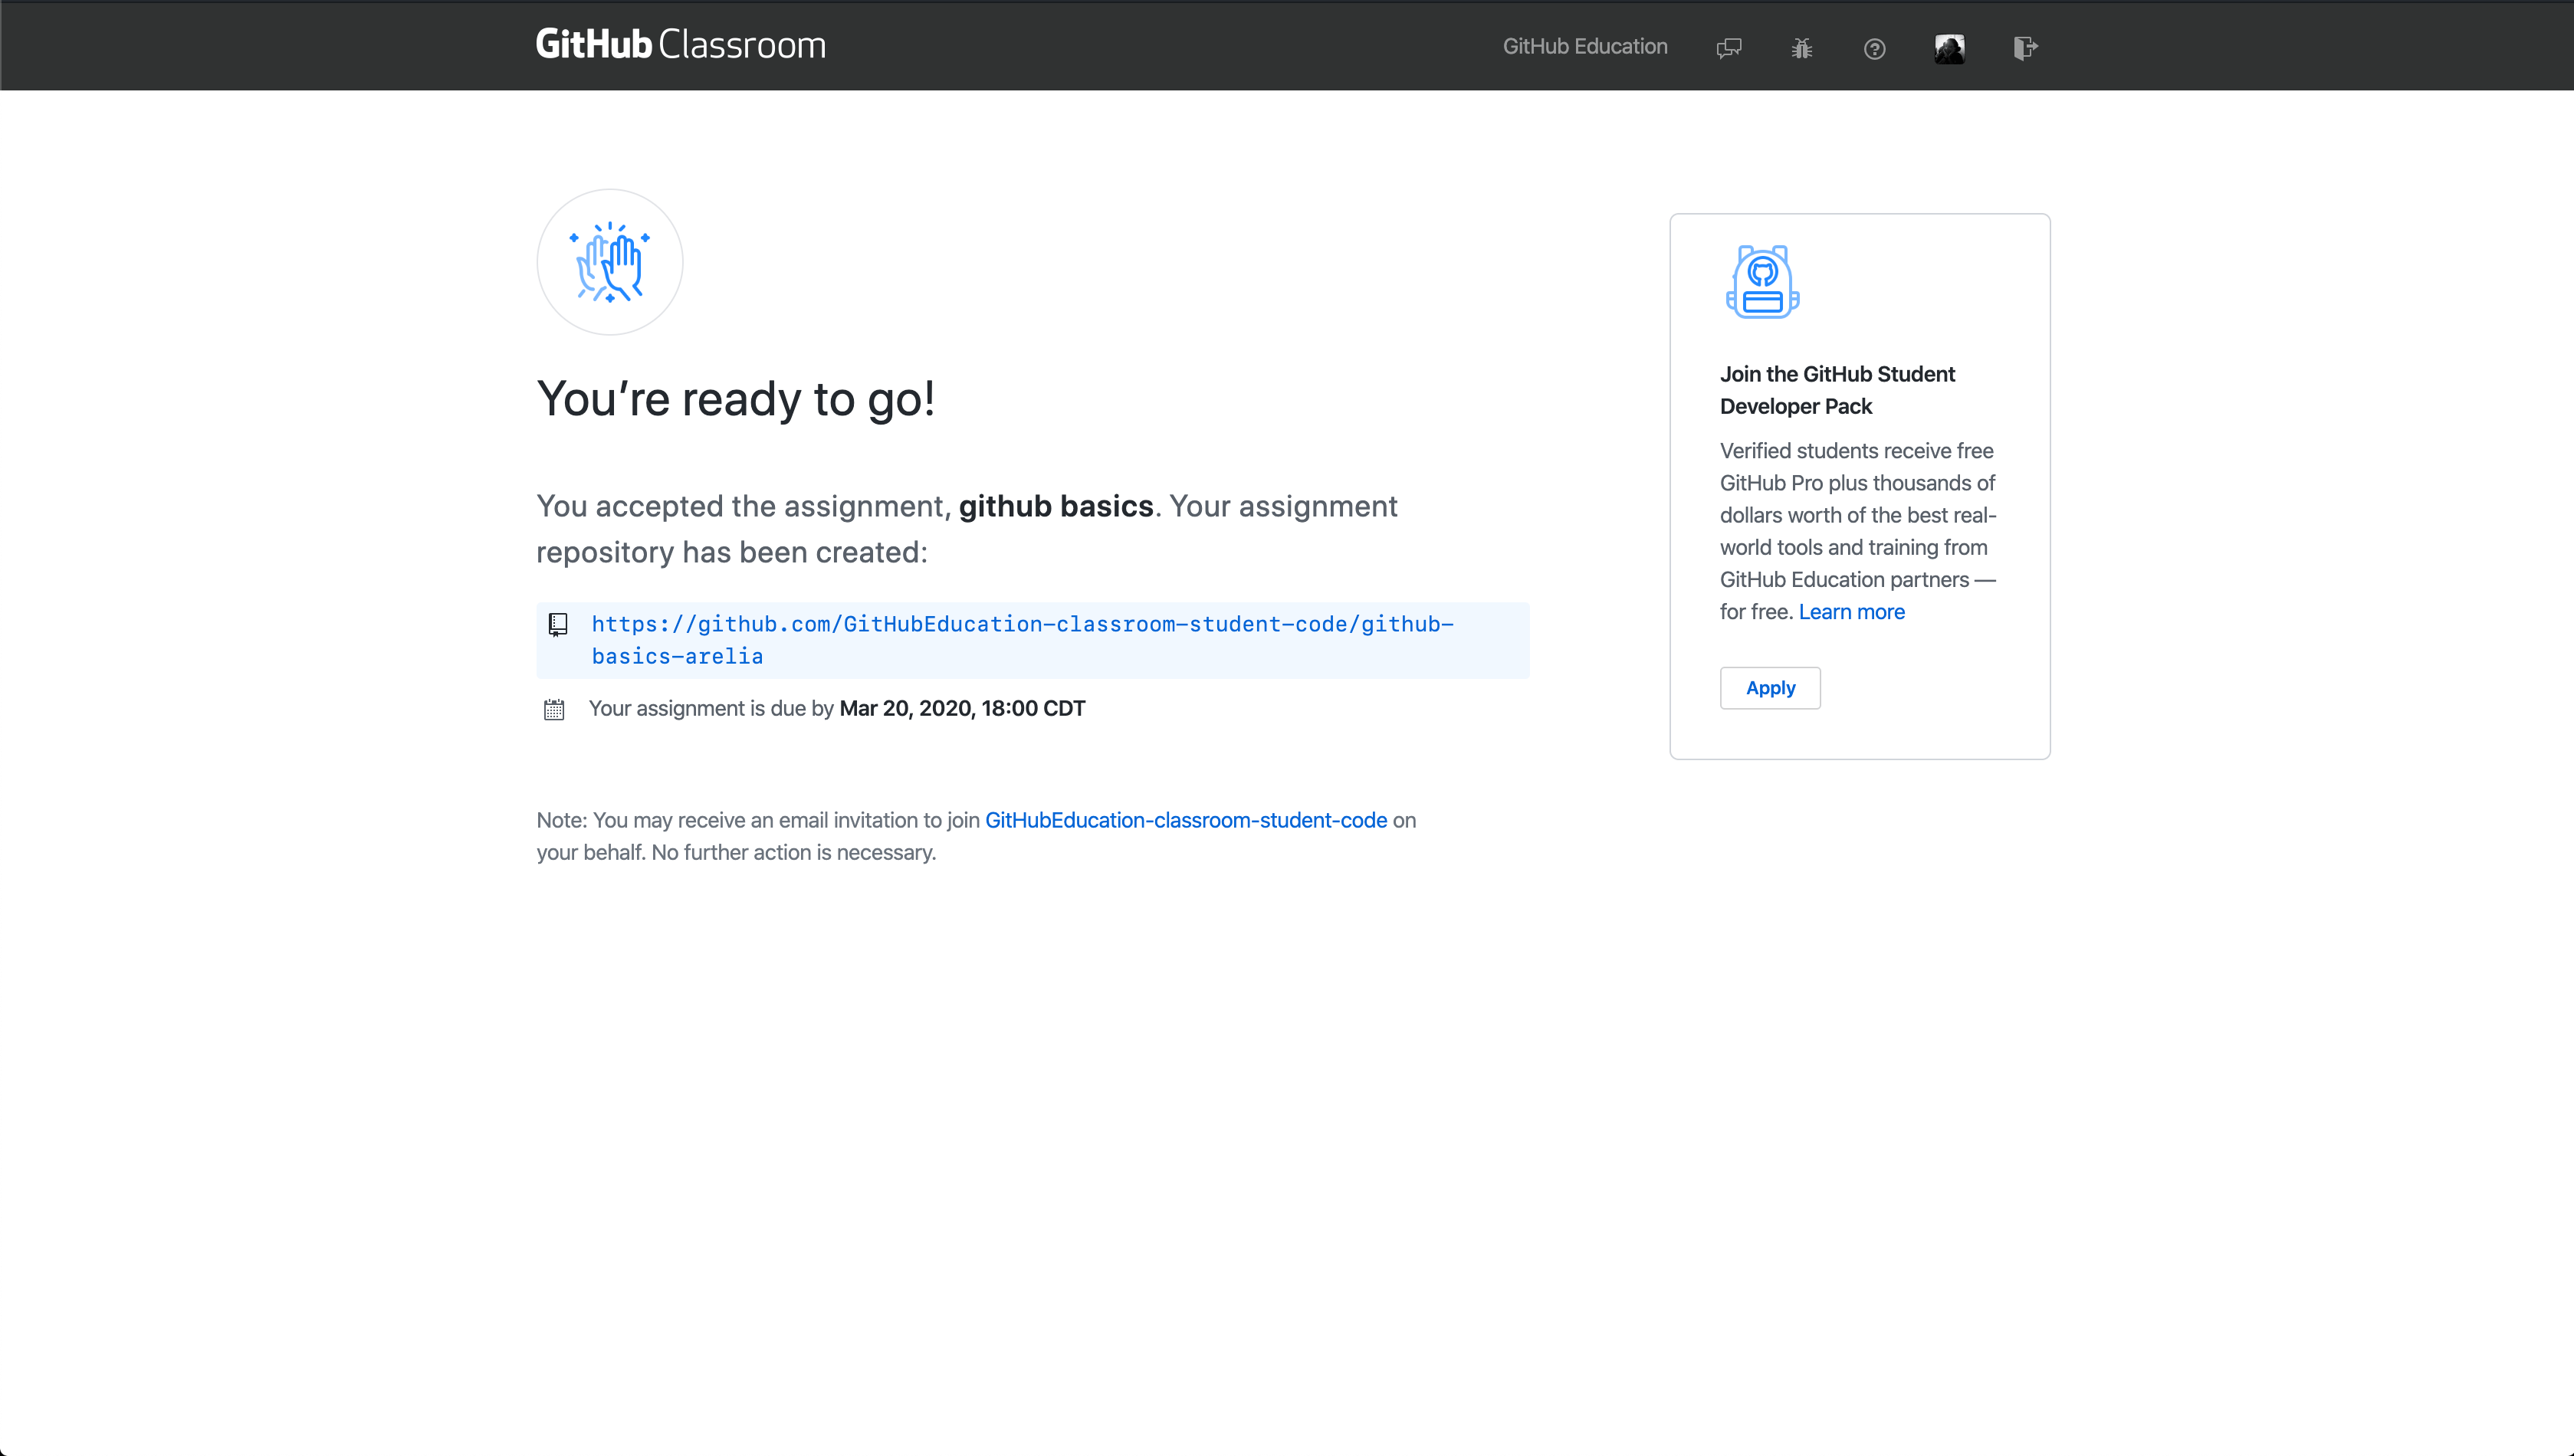
Click on the link provided to navigate to your repository’s homepage. Next, you’ll clone your repo and begin working on your assessment!
Cloning the Repo
You’ll need to clone the contents of your GitHub repo to start working on the assessment. To do this, click on the Copy, open, or download button (refer to the screenshot below). In the menu that appears, click on the Clipboard button to copy your repo’s clone URL.
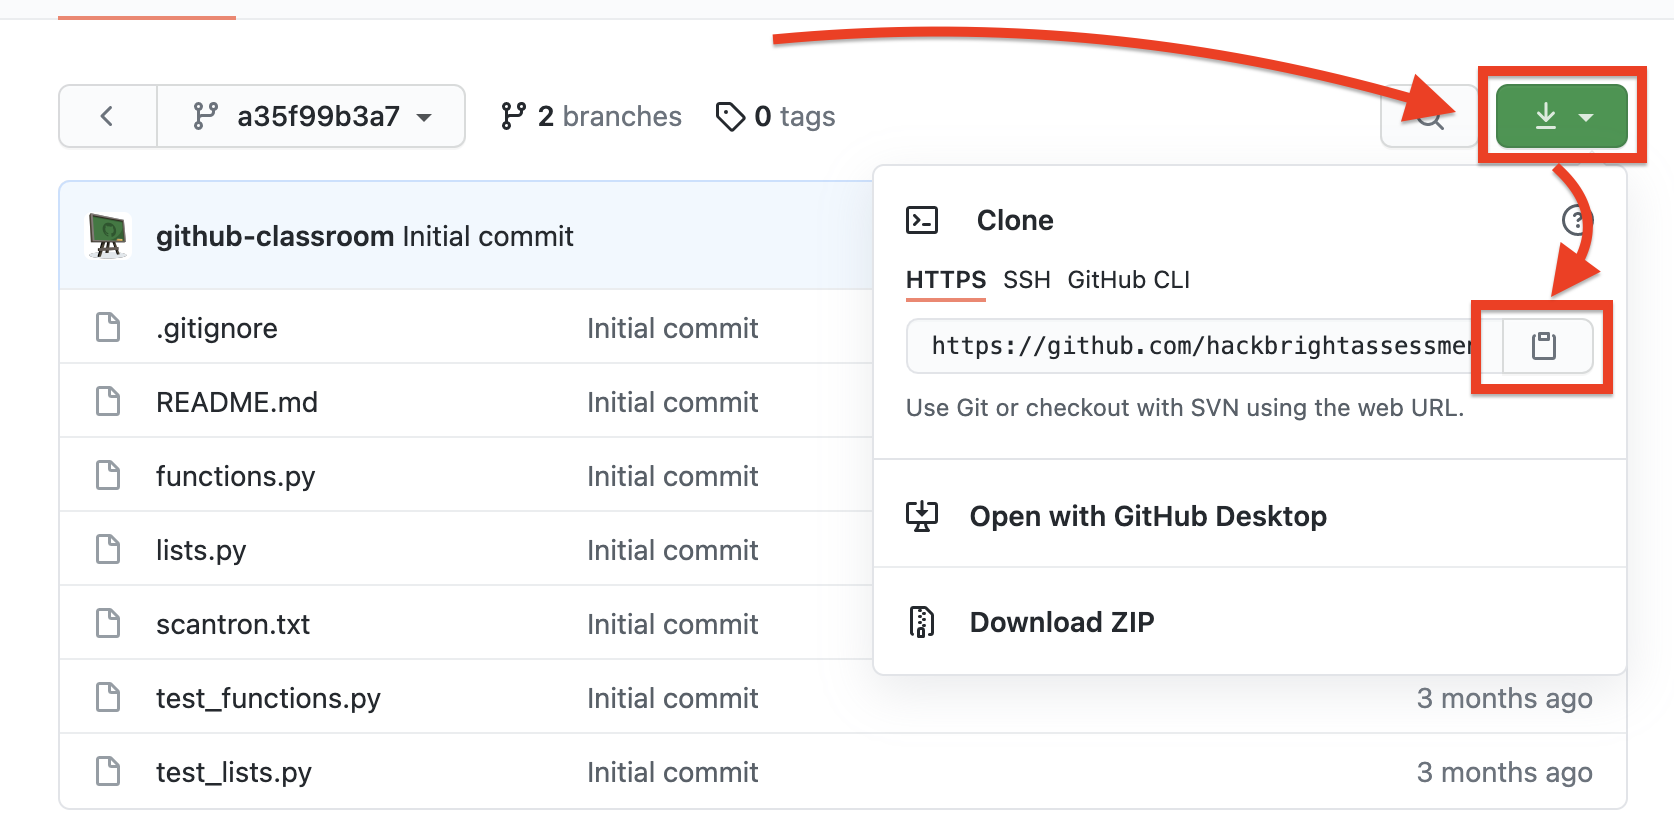
Next, you’ll run the git clone command to download your assessment repo from GitHub. In a terminal
window, type git clone, then paste the URL you just copied, and press Enter.
$ git clone https://pasteyoururlhere/skills-1-username.git
All that’s left to do is to start working on the assessment!
Work on the Assessment
You’ll find the link to instructions for the assessment on GitHub. If you scroll down on your repo homepage, you’ll see something like this:
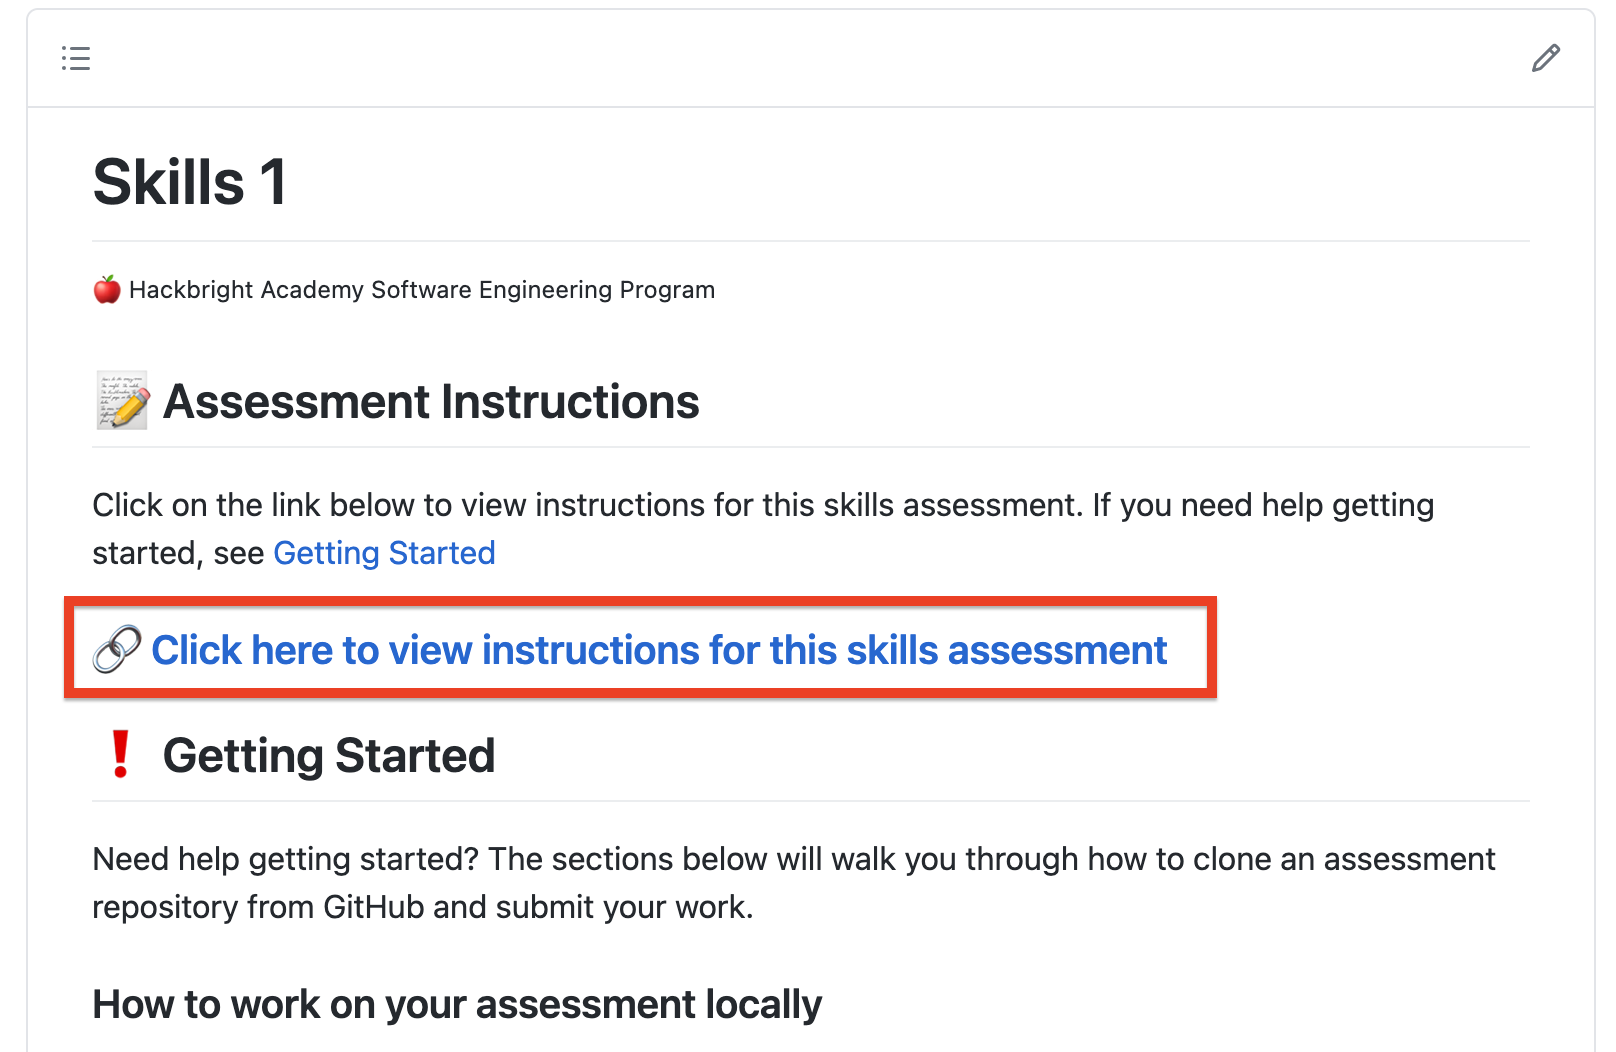
Click on the link (shown above) to open the instructions.
As you make progress, remember to commit and push your work often.
Committing and Pushing
It’s always good to get in the habit of running git status before doing any other Git-related operation:
$ git status
On branch main
Your branch is up to date with 'origin/main'.

Changes not staged for commit:
  (use "git add <file>..." to update what will be committed)
  (use "git restore <file>..." to discard changes in working directory)
        modified:   functions.py

no changes added to commit (use "git add" and/or "git commit -a")
Any starter code files that came with the assessment when you cloned it have already been added. In the example above, functions.py is already being tracked by Git so you can go ahead and run git commit:
$ git commit -am "Update functions.py"
[main 88891ab] Update functions.py
 1 file changed, 1 insertion(+), 1 deletion(-)
We highly recommend pushing your code (which will upload your work to GitHub) right after you make commit. That way, GitHub will always have the latest version of your code.
When you clone a repo from GitHub, Git automatically sets up the correct remote for you. So to push your work, all you have to do is run git push:
$ git push
The last thing you’ll need to do is turn in the assessment on FRODO.
Turn in the Assessment on FRODO
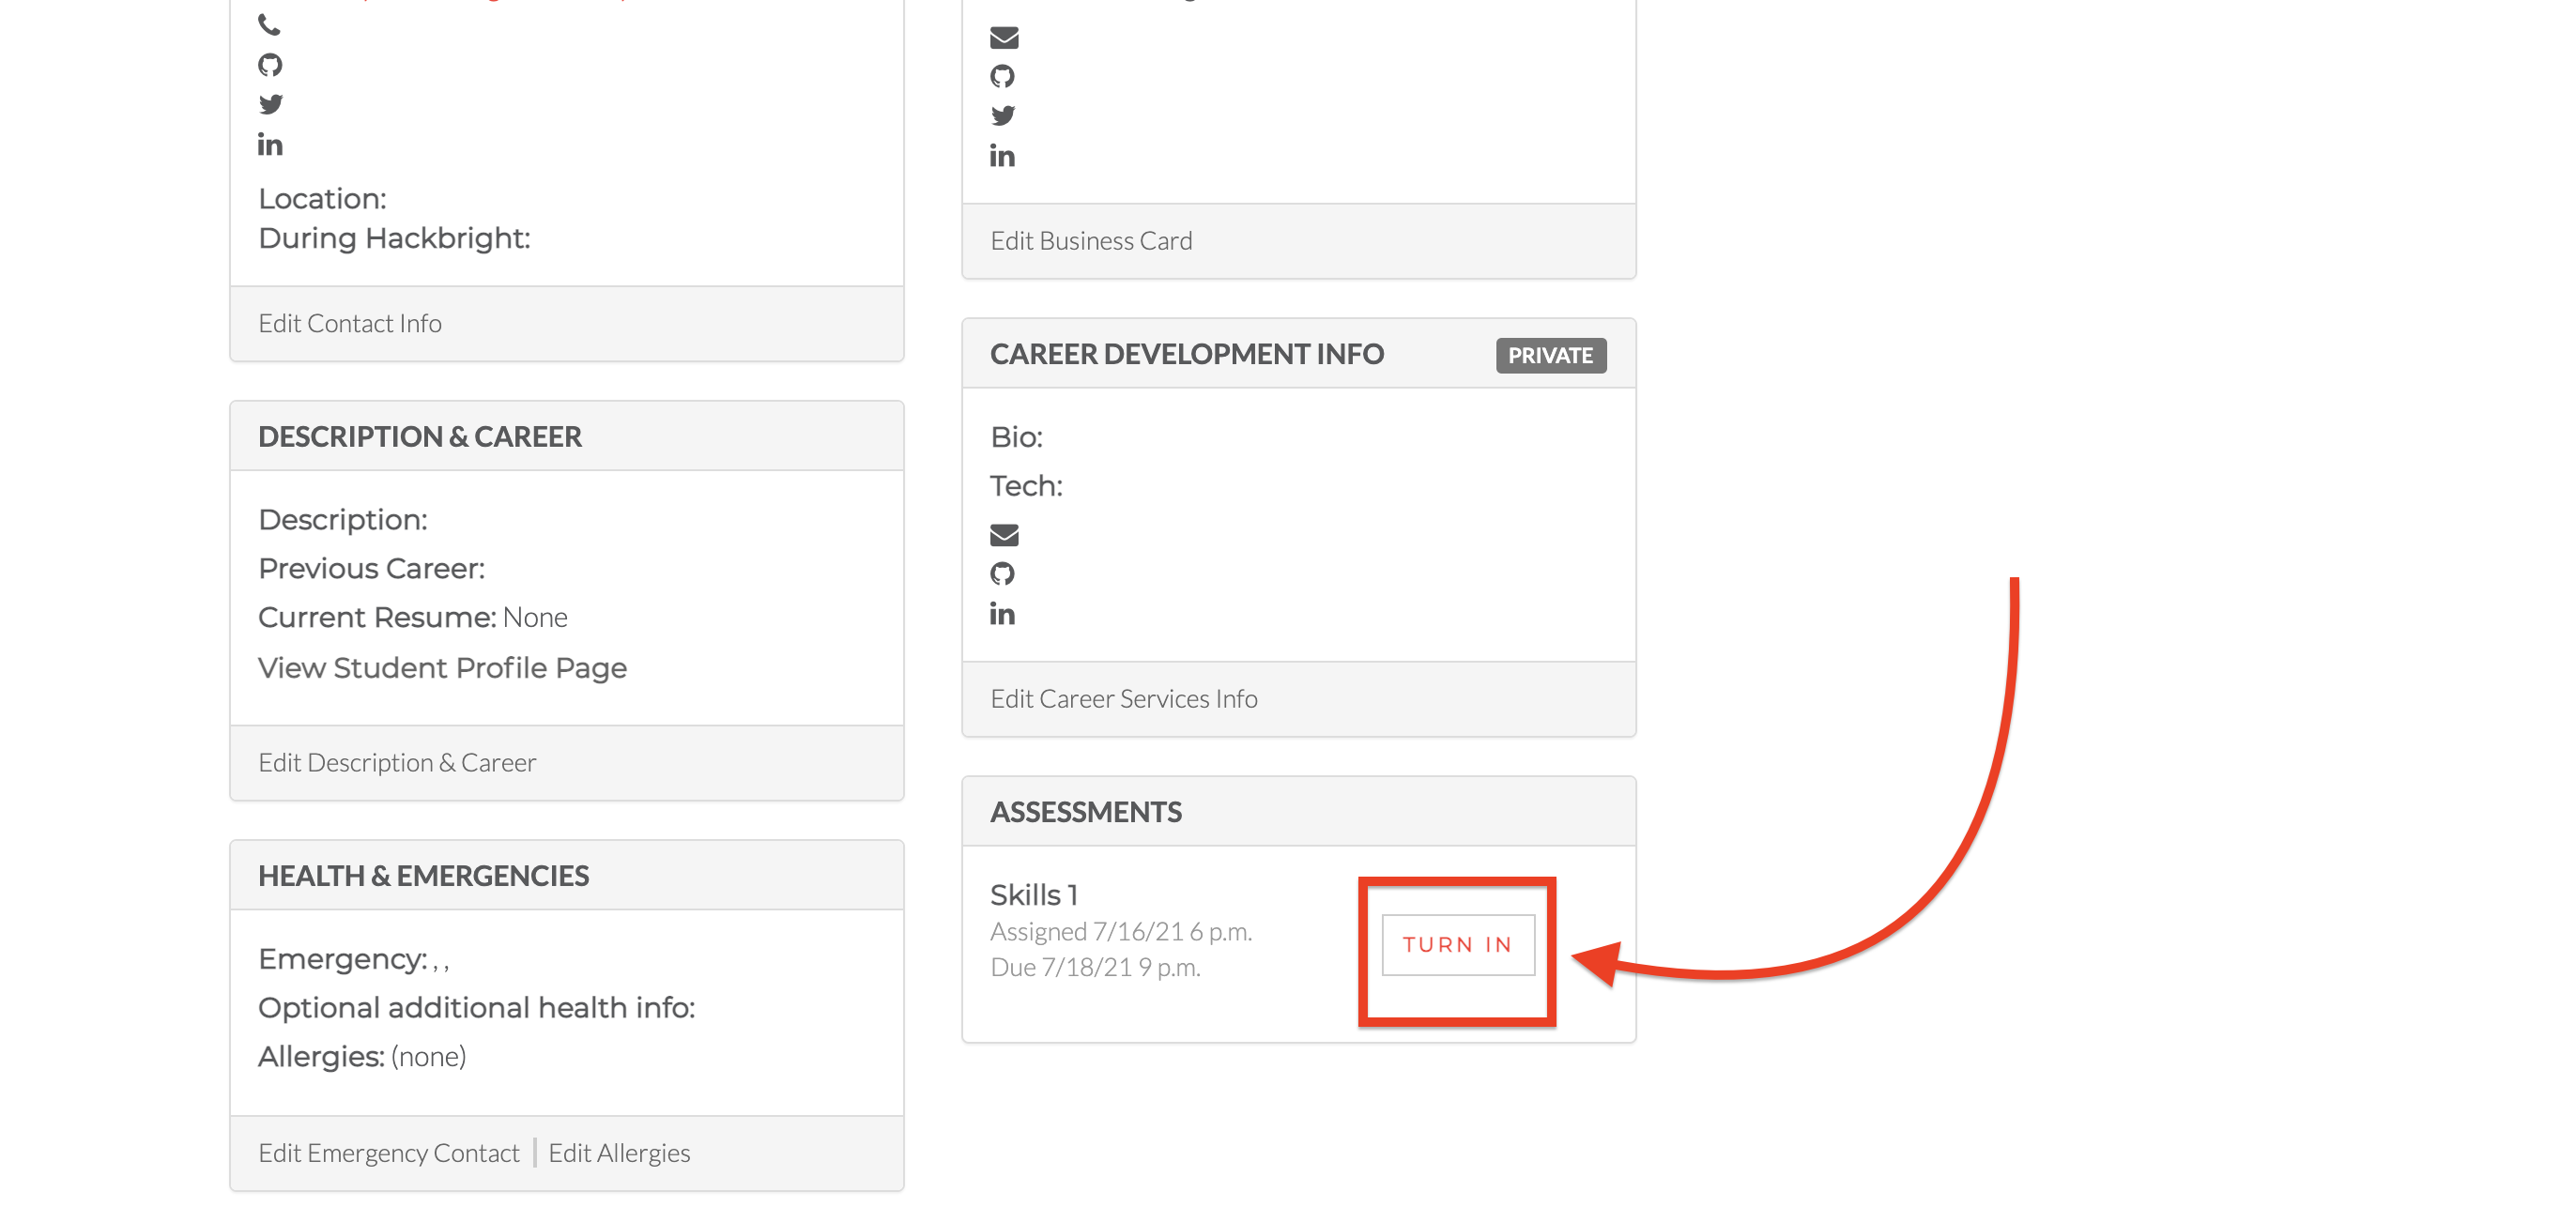
To submit your work, log into FRODO and navigate to Your Profile (see below).

On your profile, scroll down toward the bottom of the page. You should see a box called Assessments. There, click on the Turn In button.
On the next page, enter the URL to your GitHub repo under GitHub Link (this URL is not the
clone URL you copied earlier — it’s the URL that ends in .com that you got from GitHub
classroom after accepting the assignment invitation).
Under Duration in min. enter how long it took you to complete the assessment in minutes.
You can optionally enter any notes or comments you had about the assessment under Student notes.
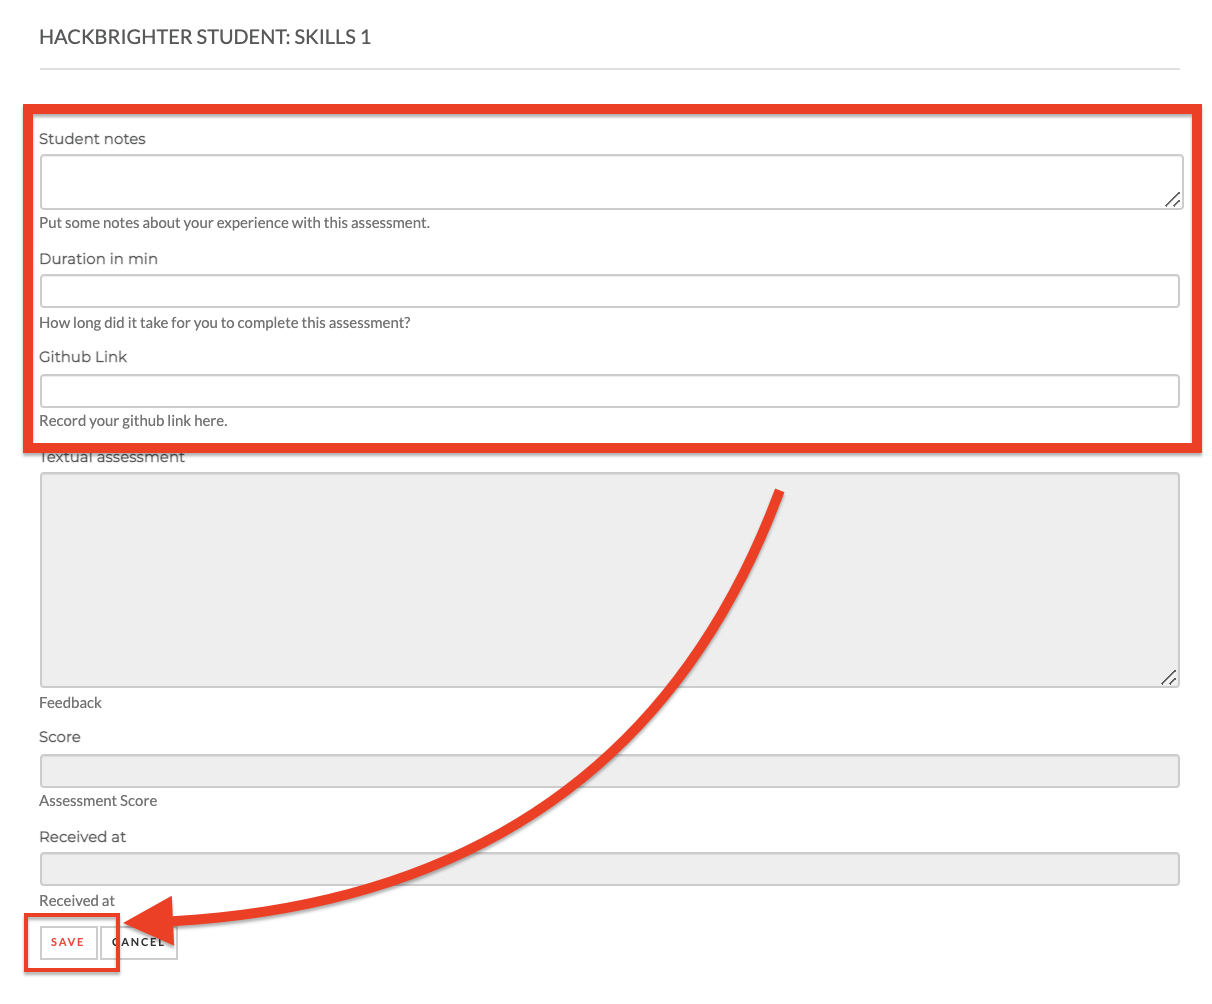
When you’re finished, click Save. Congrats on finishing your assessment!